
- Home
- Stock Categories
- Company News
- timken bearing
- Deep groove ball bearings
- Self aligning ball bearings

Home> Company News> How do I clean my bearings?
How do I clean my bearings?
NOVEMBER 02, 2022Cleaning your bearings is an important thing to do for several reasons. First, if you're a rider who rides in wet conditions, then you want to make sure that your bearings don't get gunked up so that they don't work as well. Second, if you're riding in dry conditions and dirt gets into your bearings, then it can cause premature wear on the races and balls.
Carefully remove the bearing from the device.
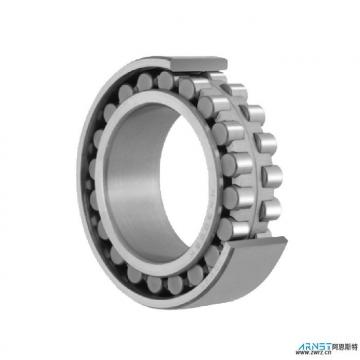
There are many models of bearings, but they all consist of a metal ring and balls in a cage. The cage is held together by two half-cylinders at the ends of the outer ring. When you press the bearing on the axle, it goes over a groove that has been cut into it, so you can't remove the bearing by pressing on it with your hands alone.
The easiest way to take out a bearing is to use pliers or vice grips to grab onto one of those halves while holding the other part stationary (for example, by placing it in another vice). Then push down on the plier until it reaches bottom, which will cause one side of the bearing cage to pop out of its groove in the axle. If this doesn't work for you or if you don't have any tools handy, try using an adjustable wrench instead; put it on one side of the axle and turn counterclockwise until there's enough room for another tool (like another wrench) to fit between that side and your hand holding it still.
Wipe clean with a clean towel.
Cleaning your bearings is a simple process that will help your bearings last longer, and keep them working smoothly. Follow the steps below to clean your bearings the right way:
Remove the bearing shields or shields. Remove the shields by unscrewing them off the axle with an Allen wrench. Be careful not to strip the threads! Use two or three hex keys in order to prevent this from happening. Use a piece of tape to protect against scratching while doing this step.
Wipe clean with a clean towel. Wipe down both sides of each bearing with a clean towel (or compressed air). Do not use water or any other liquid-based products (such as WD-40), as they can damage your bearings over time.
Soak the bearing in a container of bearing cleaner.
Bearing cleaners are one of the most important tools in your shop. They help you clean bearings and other parts that need to be taken apart and put back together.
Bearing cleaner is usually a solvent or lubricant that you can use to remove grease, oil, dirt and other contaminants from your bearings. You'll find bearing cleaners in most hardware stores, but they're also easy to make yourself if you have the right ingredients on hand.
Soak the bearing in a container of bearing cleaner. The container should be large enough for the bearing to float freely without touching any sides or bottom surface. If possible, leave it overnight so that all of the dirt can dissolve away without damaging any internal parts of your bearing system.
When soaking in a container of cleaning solution isn't possible, use an ultrasonic cleaner instead. Ultrasonic cleaners use high-frequency sound waves to agitate any particles inside a sealed tank filled with cleaning solution — this helps loosen up caked-on debris so it can be washed away more easily later on.
Remove the bearing from the cleaner and dry in a ventilated area.
If you're cleaning a bearing with oil, it's important to remove the bearing from the cleaner and dry it in a ventilated area. If you leave it in your shop, it can be damaged by moisture.
The best way to do this is to take it out of the cleaner, place it on a piece of paper towel and let it dry for about five minutes. Then, roll up that piece of paper towel into a tube shape and put the bearing inside it. Roll up another piece of paper towel and place that over the first one to make sure there's no air gaps between them. Then set them aside until they're completely dry (about 30 minutes).
If you have access to compressed air or an air compressor at home, blow air into the bearing through both ends until it's completely dry inside. You can also use an ultrasonic cleaner if you don't want to wait for it to dry naturally.
After the bearing is completely dry, reinstall it back in place.
If the bearing has been removed from its housing, it is essential that you let it dry completely before reinstalling. This will ensure that the lubricant does not contaminate nearby parts and components.
To properly dry a bearing, simply place it on a clean surface in an open area where it can be exposed to the air for several days.
Once the bearing is completely dry, reinstall it back in place.
Regular cleaning and maintenance of bearings is the key to keeping them running properly.
Regular cleaning and maintenance of bearings is the key to keeping them running properly. Every bearing has a working life and it is important that you maintain your bearings in order to prolong their working life.
The two main reasons why a bearing fails is due to lack of lubrication and contamination which leads to rusting and corrosion.
Clean your bearings every time you replace them or after every race day, where possible. You can use an old toothbrush if you don't have any specialist tools available.
To remove dirt from the inside of your bearings, simply squirt some WD-40 into the bearing then spin it around with your fingers until most of the dirt has been removed by centrifugal force. To remove dirt from the outside of your bearings, use an old toothbrush or similar tool to scrub away at the dirt.
This guide should help give you the knowledge you need to properly clean your bearings. It's an important job, as dirty bearings can cause performance issues and can shorten their lifespan. So if you have a few minutes to spare, learn how to clean your bearings properly in order to maximize performance and extend their life.
 CRBH12025AUU Crossed Roller Bearing
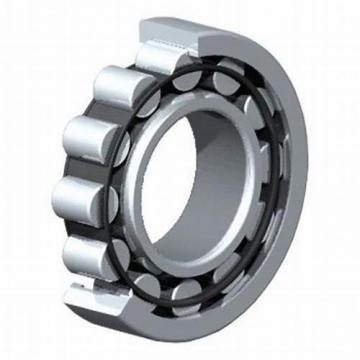 CRBH14025AUU Crossed Roller Bearing
 CRBH8016A Crossed roller bearing
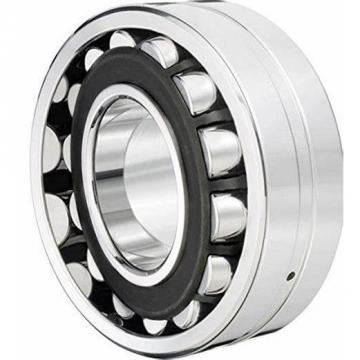 CRBH9016A Crossed roller bearing
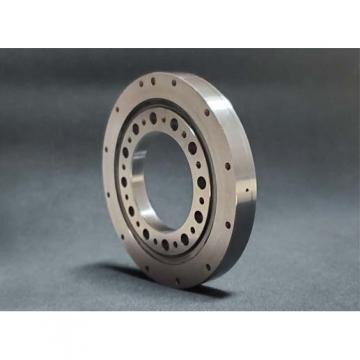 CRBH13025AUU Crossed Roller Bearing