
- Home
- Stock Categories
- Company News
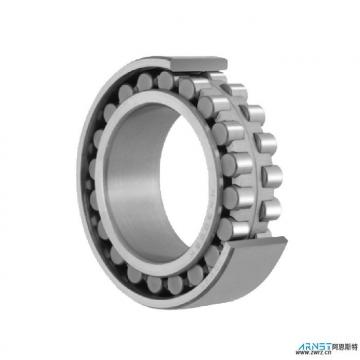
- timken bearing
- Deep groove ball bearings
- Self aligning ball bearings

Home> Company News> skf bearing how to properly hand grease a bearing
skf bearing how to properly hand grease a bearing
NOVEMBER 02, 2022SKF bearings are the best in the world. This is because SKF bearings are made with superior materials and craftsmanship. SKF bearings are manufactured to the highest quality standards, ensuring durability and performance.
However, there are times when you may need to hand grease your SKF bearing. While this is not ideal, it is necessary in some cases. Here are some steps you can take to properly hand grease your SKF bearing:
1) Remove all dirt and debris from the surface of your SKF bearing before attempting to hand grease it. This will ensure that no dirt or debris gets into your SKF bearing once you begin hand greasing it.
2) Use a small amount of oil-based lubricant on a rag or paper towel (do not use an oil-based lubricant directly on your SKF bearing). Rub the oil-based lubricant over the entire surface of your SKF bearing until it has been thoroughly coated with oil-based lubricant. Once this has been done, wipe off any excess oil-based lubricant from the surface of your SKF bearing using another rag or paper towel that has not been used yet to avoid cross contamination between surfaces of different parts being greased at one time (this could cause premature wear on those.
First, clean the bearing from any dirt or contamination.
This can be done with a rag or brush and some solvent. A good option for cleaning bearings is to use a toothbrush dipped in solvent, as this will allow you to get into small spaces and clean around the ball racesIf you can't get it clean with water and detergent, use a solvent like acetone or mineral spirits to remove the last bit of gunk. Then dry it thoroughly with compressed air or a blow dryer.
Identify the grease fitting and remove the dust cap.
Remove the grease fitting from its seat by loosening the retaining ring with a small screwdriver. This is usually done with a ratcheting wrench, but you can use pliers if necessary.
Unscrew the grease fitting from its seat in the hub. Use a crescent wrench or adjustable pliers to loosen the fitting, then turn it counterclockwise to remove it from the hub.
You should be able to identify a grease fitting by its bright yellow color. You may also see a small 'G' or 'GREASE FITTING' on the fitting itself.
The dust cap is a small round piece of plastic that covers the end of the shaft or axle where you will be inserting your grease gun. Most of these have a thin, raised ridge around their perimeter that makes it easy to remove by hand. If yours doesn't have one, look for a small nub or tab on its edge that can be easily broken off with pliers, leaving an opening large enough for your grease gun's tip.
Clean the dust cap and inspect for damage.
The dust cap on a SKF bearing allows oil to reach the outer ring of the bearing while keeping dust and dirt out. It is important to clean this area regularly because any dirt or debris can affect the performance of the bearing. Inspecting the dust cap also helps you determine if there is any damage or wear that needs repair. Cleaning and inspecting your SKF bearings regularly will help you avoid costly repairs down the road.
To clean the dust cap, use a soft cloth to wipe away any dirt or debris that may have accumulated on the surface. Do not use abrasive cleaners or solvents because they can damage the plastic surface of the dust cap.
Checking for damage on your SKF bearings requires you to use both eyes and hands during inspection so that you can see if there are any cracks in the inner race surface or if there are any other damage signs present such as bent races or damaged outer rings that would prevent proper rotation of your bearing when spinning it by hand.
Apply a small amount of new grease to the tip of the grease gun nozzle.
The grease gun should be used to apply new grease to the bearings. If you have an older single-line gun, it is best to use a pistol grip gun in order to get more leverage. If you have a dual-line gun, you can use either one.
Turn on your grease gun and allow it to heat up for several minutes. This will ensure that there is no air in the line, which could cause leakage.
Apply a small amount of new grease to the tip of the grease gun nozzle by squeezing the trigger until it comes out. When finished, wipe away any excess grease from around the tip with a clean rag. Apply just enough so that there is no gap between the end of the nozzle and surface being lubricated but not so much that it overfills and leaks out onto other surfaces or parts.
Attach the nozzle to the grease fitting with a 1/4 turn.
The grease fitting should be tight enough to prevent oil leakage but not so tight that it will break the fitting.
The nozzle is attached to the grease fitting with a quarter turn. The grease fitting should be tight enough to prevent oil leakage but not so tight that it will break the fitting.
It is important to remember that grease guns are not designed for use with petroleum lubricants, such as engine oil or transmission fluid.
Activate grease gun trigger while applying pressure to push air and old grease out of the housing.
Grease guns are designed to push grease into a variety of applications. The best grease gun for the job is one that can handle the amount and consistency of grease needed.
The first step to using a grease gun is to make sure that the air pressure is set to the correct setting. This will ensure that the grease will be applied in a controlled manner, rather than being shot out so fast that it causes damage to any part of your vehicle or machine.
When using a manual grease gun, you may need to press down on the trigger while pushing air through the hose and out of the housing. This will cause air pressure in the housing and force old grease out of it as well.
Continue to apply grease as long as you see old grease escaping from the housing.
The reason you need to continue applying grease as long as you see old grease escaping from the housing is because there are likely still some parts inside that are dry or unprotected by any grease at all.
Always bear in mind when lubricating bearings that you are dealing with a precision instrument, so the process should be carried out in an orderly manner. Your aim is to get rid of all traces of dirt and unwanted matter from the inside of your bearings. While it's impossible to get every kind of particle out, there are some steps you can take to make sure that as much as possible is eliminated before you start working with the grease.
 CRBH12025AUU Crossed Roller Bearing
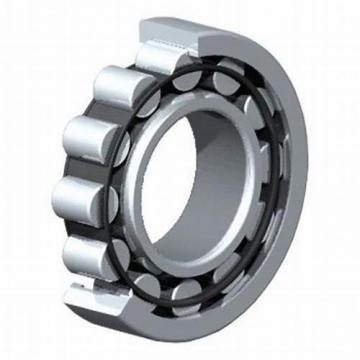 CRBH14025AUU Crossed Roller Bearing
 CRBH8016A Crossed roller bearing
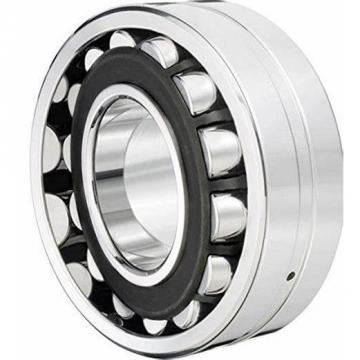 CRBH9016A Crossed roller bearing
 CRBH13025AUU Crossed Roller Bearing